Installation Manual
This is a manual on how to install Garuda Linux. If you have done it before, you might still want to stay here because you may learn something new 😁
Editions
Section titled “Editions”| Edition | Desktop | Notes |
|---|---|---|
| Dr460nized | KDE Plasma | Our default KDE theme |
| Dr460nized Gaming | KDE Plasma | Dr460nized plus performance tweaks and game launchers, see Gaming |
| Mokka | KDE Plasma | Catppuccin Mocha theme |
| kde-lite | KDE Plasma | Minimal KDE Plasma with few preinstalled applications |
| COSMIC | COSMIC desktop | Community edition |
| Cinnamon | Cinnamon | |
| GNOME | GNOME | |
| Xfce | Xfce | |
| i3, Sway, Hyprland | Tiling window managers | See the cheat sheets |
Garuda Nix is a separate installer based on NixOS. See Garuda Nix.
Before it starts
Section titled “Before it starts”- To learn about the installation of Garuda on MacBook Pro, you can visit this page.
- Check your hardware. To check Garuda’s system requirements and some other notes, visit this wiki page. (optional if you are sure that your computer will not explode)
- Download the preferred edition. Also, verify the checksum to ensure that the file is downloaded successfully. The editions are listed below.
- Create a bootable USB using DD, Popsicle, Ventoy, or any of the methods mentioned in the ArchWiki.
- Once it’s done, boot the drive you just flashed above by selecting it as a boot option in your device’s BIOS/UEFI setup.
- More information on how to achieve this might be available here as the procedure depends on the device manufacturer.
Installation
Section titled “Installation”We booted the live installation medium. Click on the “Install” button on the desktop to launch Calamares. You should plug in a charging cable if you are using a laptop. An internet connection is optional.
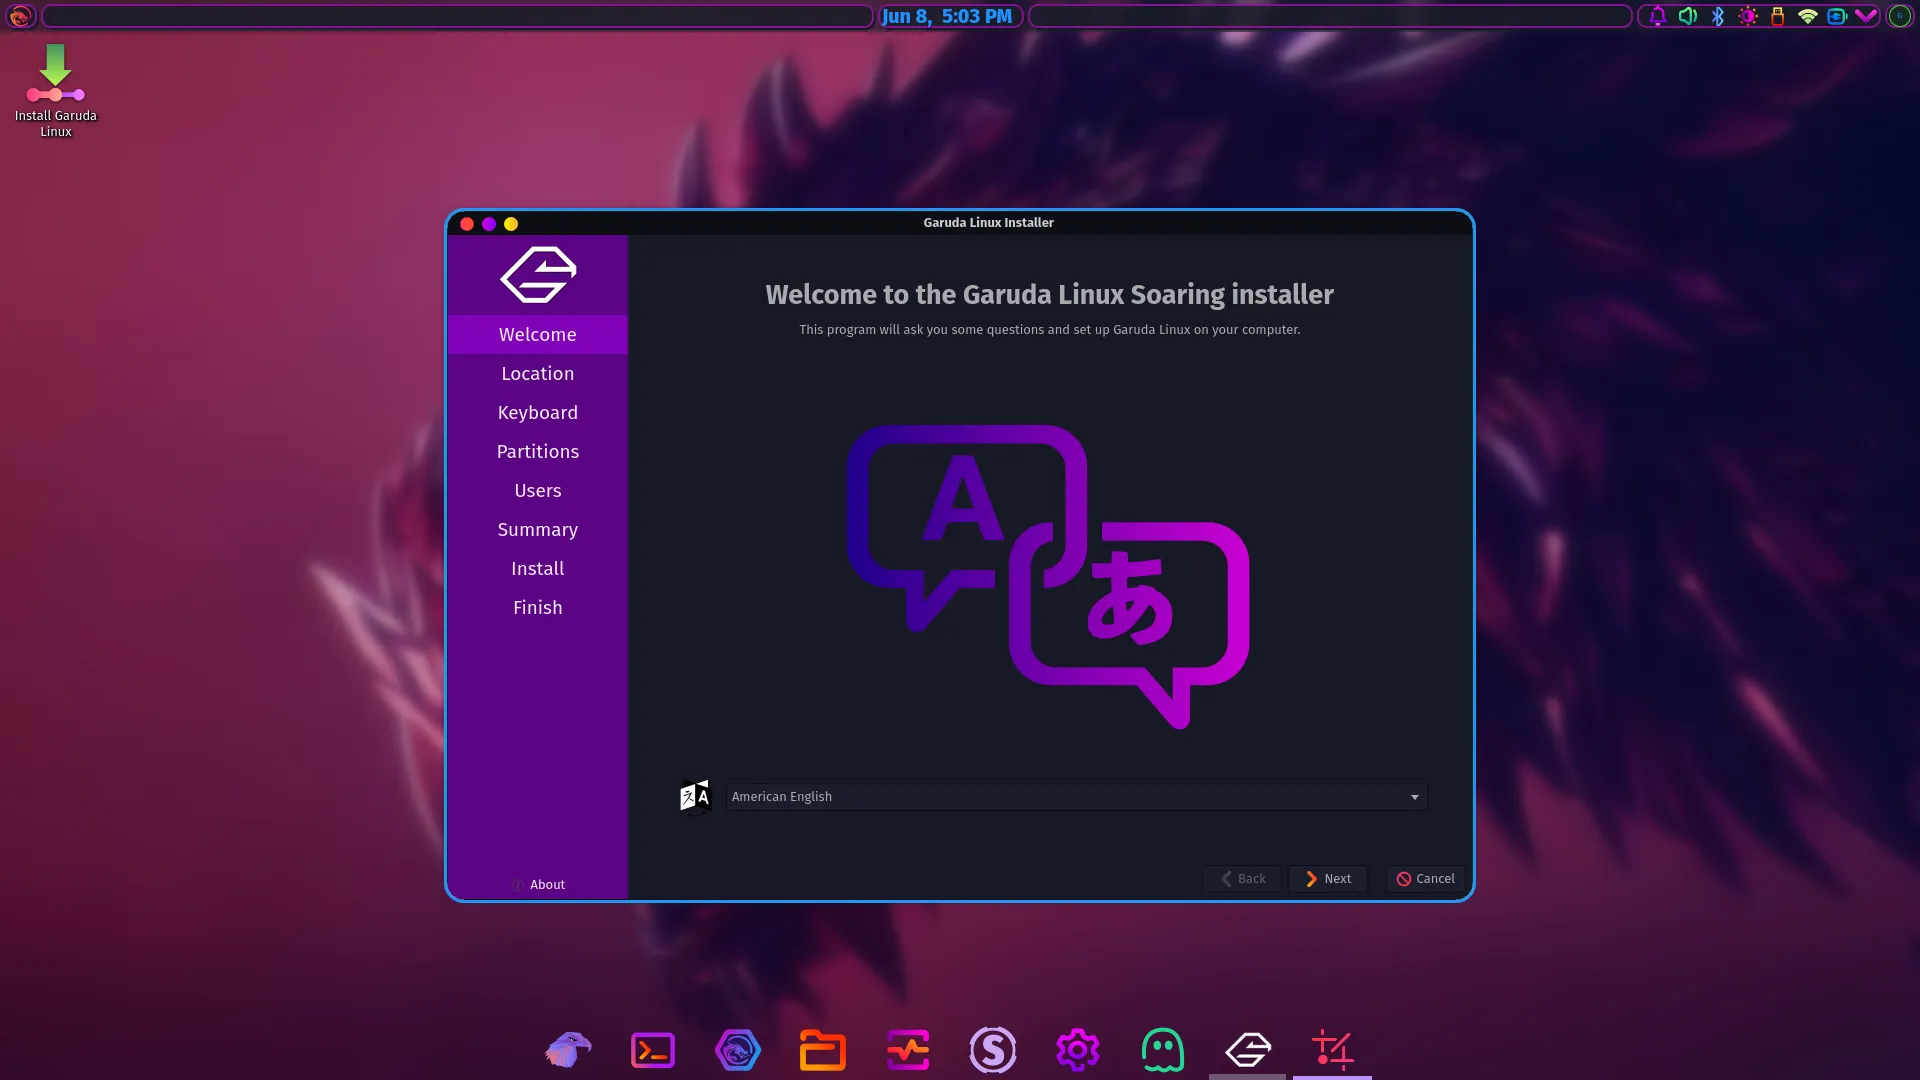
Once it opens you will notice that there are 8 steps in Calamares:
- WELCOME - Pick your preferred system/installer language
- LOCATION - Set your device timezone
- KEYBOARD - Set your Keyboard layout
- PARTITIONS
- If you don’t care, choose “Erase Disk”. This is recommended if you want to use Garuda as the main OS.
- If you want to dual boot with an existing OS, select “install alongside”. You can then select a partition to be resized in the partition view at the bottom of the page.
- If you care, select “Manual Partitioning”. A partitioning/mounts editor will be available later in the setup process. Only use this if you know what you are doing. The previous 2 options should be sufficient in the vast majority of cases.
- USERS - Configure your initial admin user
- SUMMARY - The changes that will be applied will be shown to you one last time.
- INSTALL - The actual installation of Garuda Linux. The progress bar will show the current installation progress.
- FINISH - Self-explanatory.
May be useful
Section titled “May be useful”Post-installation
Section titled “Post-installation”Okay, you installed Garuda Linux, right? Congrats! I’m proud of you!
Let’s start with some essential things to do after the installation.
Setup Assistant - running through steps automatically
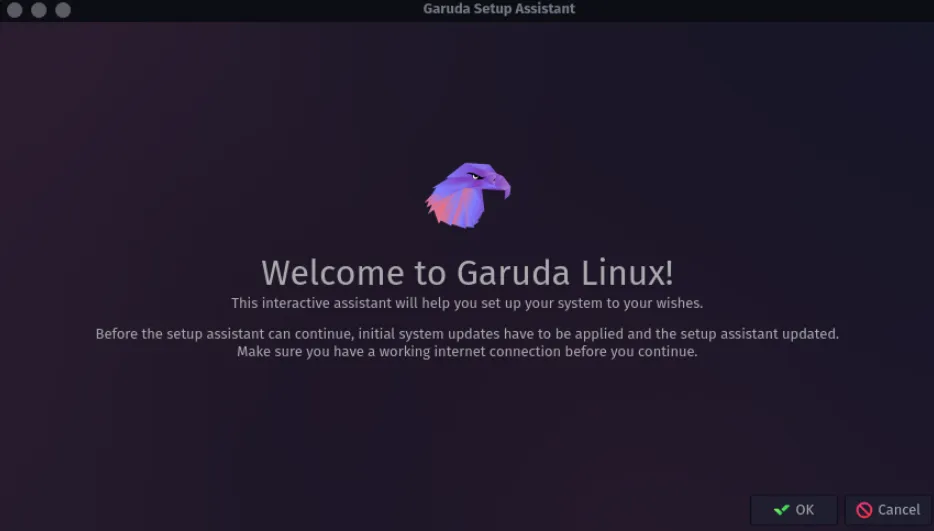
Section titled “Setup Assistant - running through steps automatically”The setup assistant will open up after the first boot process has been completed. It will run you through some essential steps which should be performed after an installation and offers an additional wizard which can install a lot of common Linux software.
The first prompt will ask you to update the system, which is highly recommended. This will run the update, update mirror lists to get the best download speed, a few additional maintenance tasks, and most importantly: it can apply eventually required manual interventions automatically by updating the garuda-update script to the latest version before proceeding with the actual update.
We occasionally use this to work around some problematic situations like the example of a required reinstallation of all packages affected by Arch pushing Python 3.10 to its repos.
After that, you can start the Setup Assistant from the Garuda Toolbox to help find fitting and required software - printer support is also one of those options.
Most applications have a short description about what the package actually does - this can help you decide which option to take.
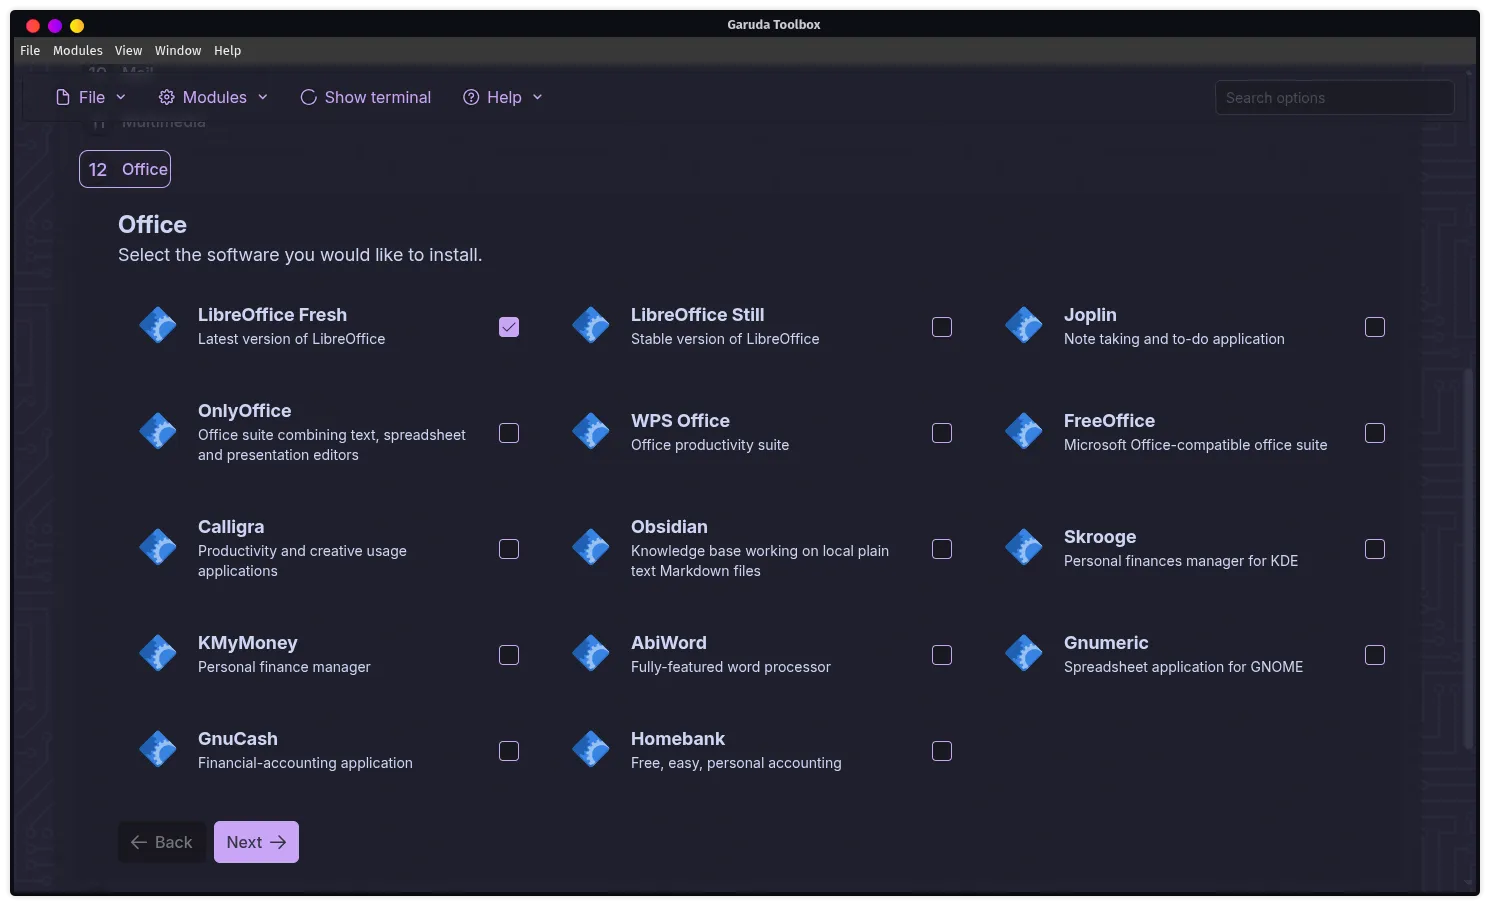
In the end, the assistant will open a terminal window to install & set up the selected options. Additional setup (like enabling systemd services) for packages that require them will be handled automatically.
Conclusion
Section titled “Conclusion”That is all that we needed to fully install the system. Of course, there are also more things to learn like Octopi, the Gaming apps tab of Garuda Toolbox, and many more. We have a wiki article describing further steps to take when setting up your fresh installation over here. Reading this article is highly recommended as it demonstrates some things most people would like to go through on their new installation.
And now, goodbye. Have a good linuxperience! 😌
P.S.: I am really proud of you if you installed Garuda Linux for the first time 😇