
Restoring snapshots to get the system back to working state
By using BTRFS we gain access to some pretty useful features such as snapshots of the filesystem. By default, we exclude the home and log directories so only the relevant system parts get saved. If you run into problems or bad upgrades you can always boot into an older snapshot (which gets created every time the system gets updated, keeping you safe) using GRUB and then restore the older snapshot.
An overview of the procedure
Section titled “An overview of the procedure”To get back to a working state we will boot into a snapshot created by Snapper:
- Reboot
- In GRUB (bootloader) select “Garuda snapshots” instead of “Garuda Linux” and select the latest snapshot
- Once the boot process is completed you will be automatically prompted to restore the currently booted snapshot
- Reboot and enjoy your working system
If the latest snapshot is not working try the older ones. If you missed the prompt, you will need to:
-
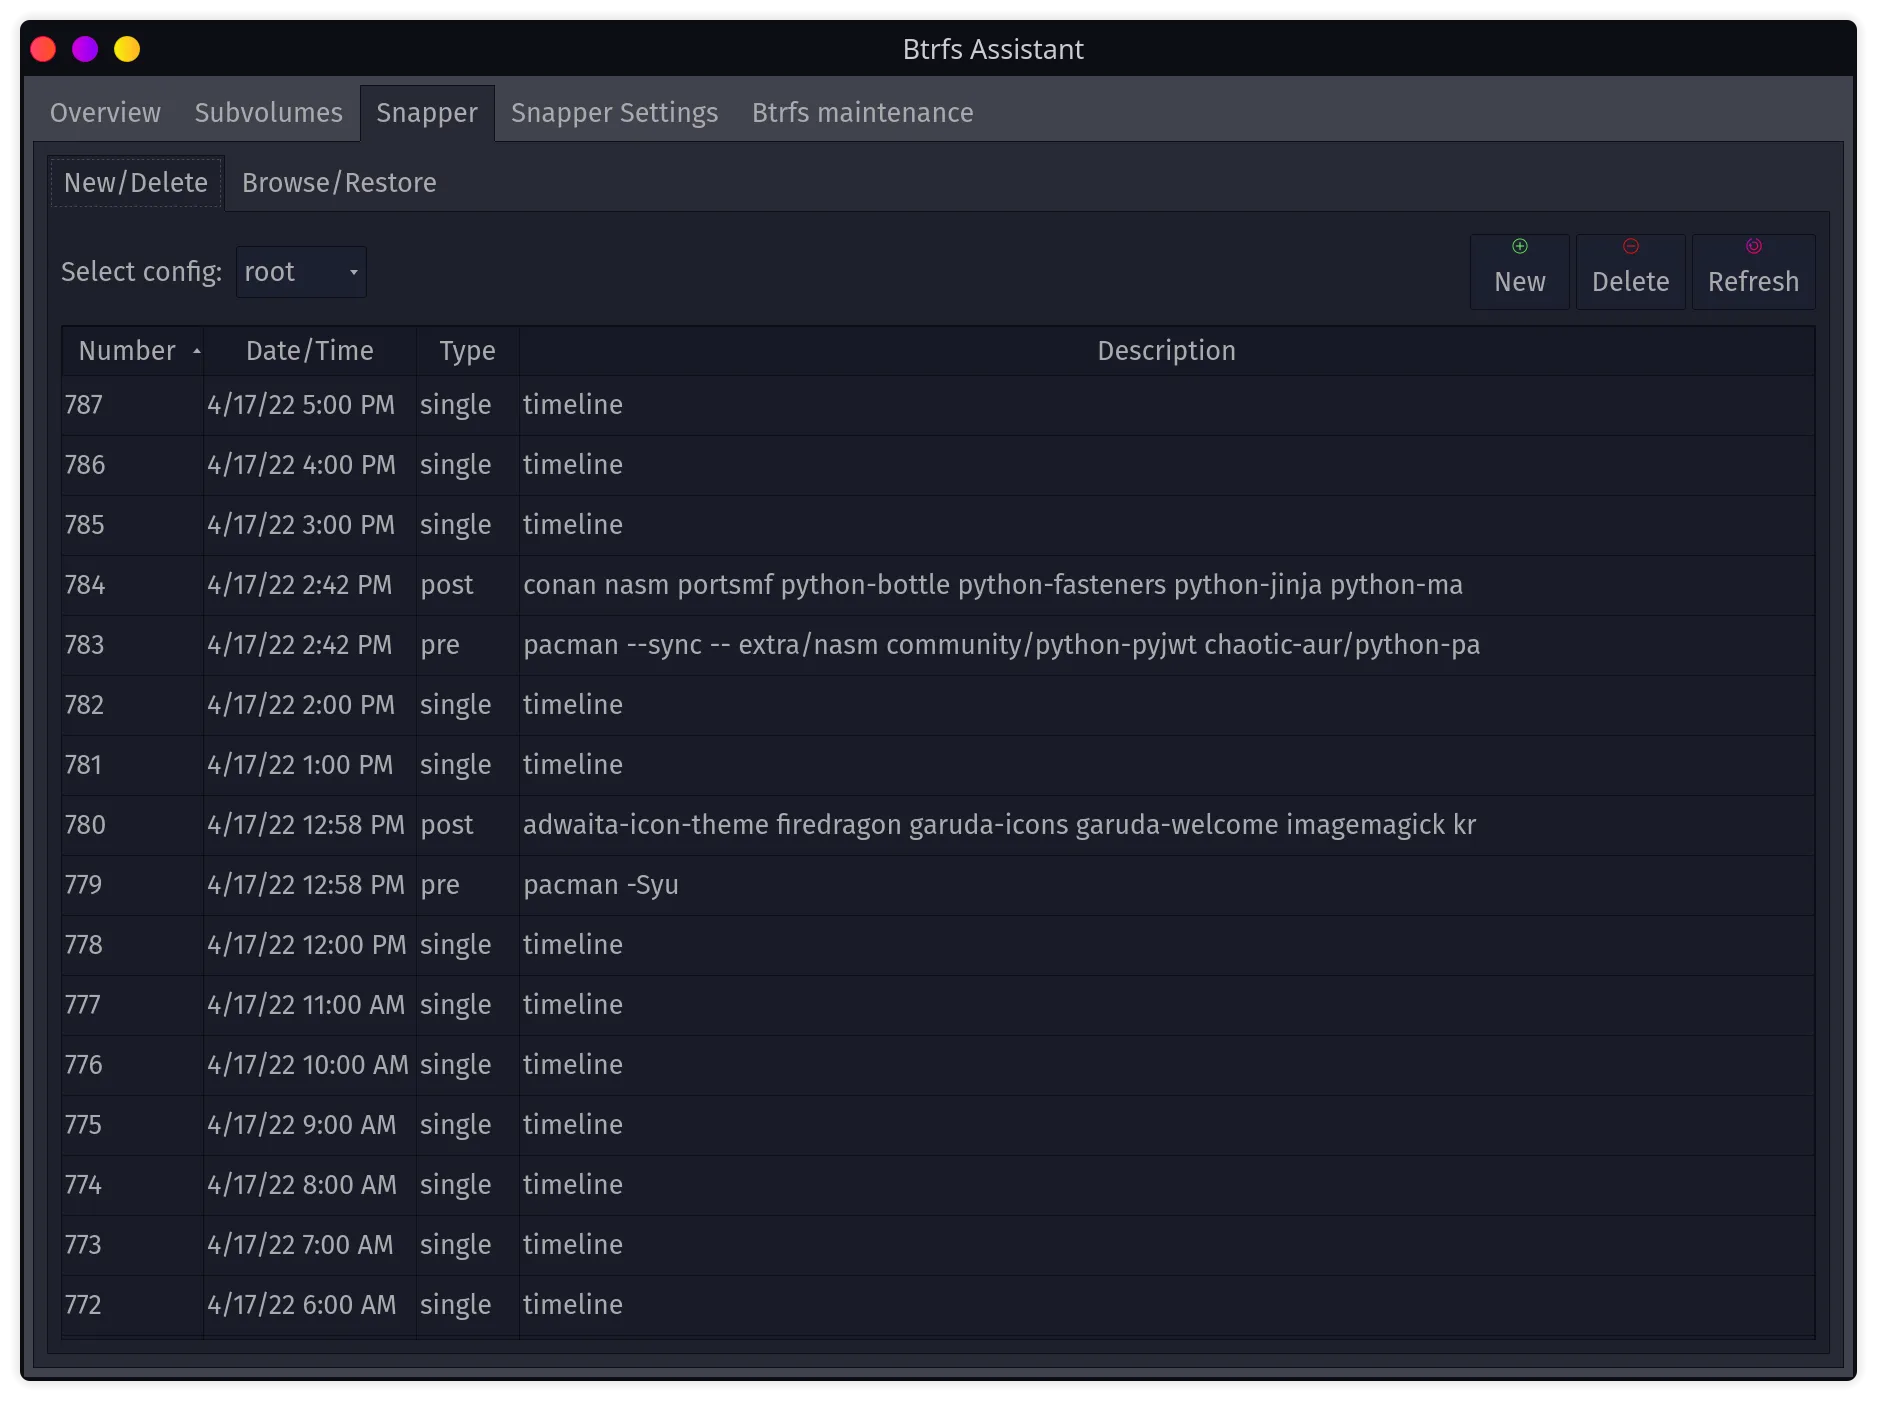
Open up BTRFS Assistant via the start menu
-
Head over to the Snapper tab and proceed as shown below
-
Reboot if the restoration was successful
Legacy iso / very ancient installations
Section titled “Legacy iso / very ancient installations”Historically we used Timeshift as a tool to manage our snapshots. Since the switch to Snapper (and the creation of BTRFS Assistant) it is no longer used though as Snapper has a few advantages compared to Timeshift. People who are still using Timeshift can convert their system to Snapper by simply installing snapper-support, which will take care of the whole setup process and removal of Timeshift.